


October 03, 2025
How to Hang Wall Art Securely Without Damaging Walls
If you’ve ever stared at your freshly painted wall with hammer in hand, sweating over the thought of poking a hole through it—welcome to the club. Hanging wall art is exciting, but wall damage? Not so much. Whether you’re a renter terrified of losing your deposit, or a homeowner who just can’t stand the idea of “Swiss cheese walls,” we’ve got you covered.
In this blog, we’ll explore clever, renter-friendly, and damage-free methods to hang wall art securely—all while keeping your home décor goals intact. From digital wall art prints to framed A3 and A4 pieces, your walls can shine without looking like a battlefield of nail holes.
Why Hanging Wall Art Matters in Home Décor
Before we dive into damage-free hacks, let’s get real for a second. Wall art isn’t just decoration—it’s personality on display. Studies in environmental psychology show that art influences mood, productivity, and even how welcoming a space feels.
-
In living rooms, large framed wall art becomes the conversation starter.
-
In bedrooms, softer tones or abstract pieces create calm and relaxation.
-
In offices, inspirational quotes or modern art pieces spark motivation.
So yes, getting your wall art placement right is more than décor—it’s lifestyle design.
Tools & Materials You’ll Need
Hanging art without nails doesn’t mean you need to turn into a magician. Just a few household-friendly tools can make life easier:
-
Adhesive hooks & strips (Command strips are a classic)
-
Double-sided mounting tape (for lighter art pieces)
-
Velcro hanging strips
-
Magnetic hanging systems
-
Easels or leaning frames (for stylish alternatives)
Top Methods: How to Hang Wall Art Without Damaging Walls
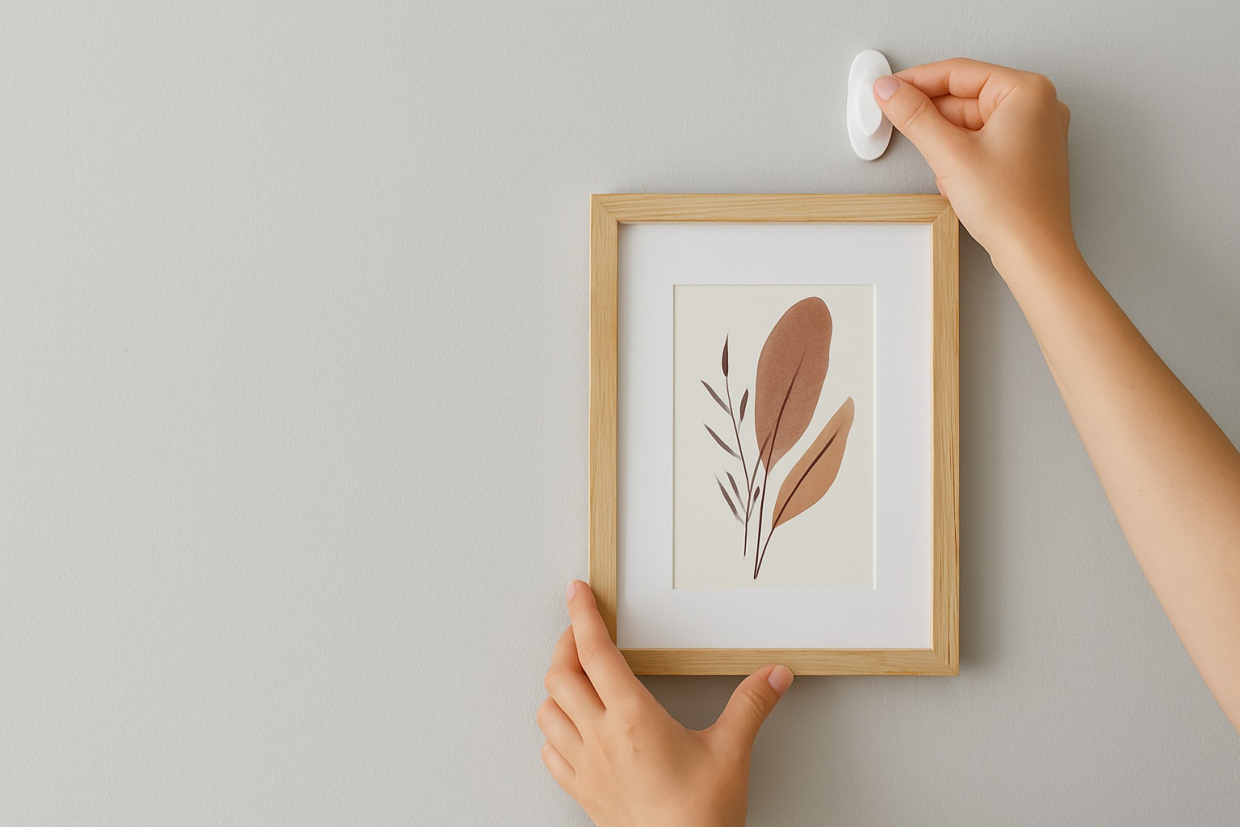
1. Adhesive Hooks & Strips (Best for A3 & A4 Frames)
Think of these as training wheels for wall art. Adhesive strips hold surprisingly strong weight (check the packaging for limits), and the best part? They peel off without leaving marks.
Pro Tip: Always clean your wall with alcohol before sticking. Dust and grease are the arch-enemies of adhesion.
2. Double-Sided Mounting Tape (Perfect for Digital Wall Art Prints)
Got lightweight digital wall art you’ve printed on photo paper? Mounting tape is your BFF. Just a few strips and voilà—instant gallery wall.
Warning: Avoid textured walls. Tape and bumps don’t mix well.
3. Velcro Hanging Strips (The Repositioning Heroes)
If you’re commitment-phobic about placement, Velcro strips are lifesavers. They let you adjust and re-adjust until your art is perfectly level.
4. Leaning Art Against the Wall (Effortless & Trendy)
No holes, no hassle, no rules. Simply lean your A3 or A4 framed wall art on a shelf, console table, or mantel. Designers love this layered, casual look—it screams modern chic.
5. Magnetic or Rail Hanging Systems (For Art Collectors)
If you’re rotating between abstract, modern, or seasonal art, a magnetic rail lets you swap pieces easily. Professional galleries use these—and hey, your home deserves gallery status too.
Where Should You Hang Wall Art? (Placement Psychology)
Now that you know the how, let’s talk about the where. Proper placement is key:
-
Eye-Level Rule: Hang wall art so the center sits around 57–60 inches from the floor. It’s the sweet spot for most people.
-
Above Furniture: Keep 6–12 inches of breathing room above sofas, beds, or consoles.
-
Gallery Walls: Balance is everything—mix frame sizes but keep spacing even (2–3 inches apart works wonders).
Common Mistakes to Avoid
Even pros mess this up sometimes. Don’t fall for these wall art sins:
-
Hanging too high. Unless you’re decorating for giraffes, stick to eye-level.
-
Tiny art on big walls. A lone A4 print on a massive wall looks lonely. Go bigger (A3 or multiple A4s in a set).
-
Ignoring proportions. Art should match the scale of your furniture—no postcard-sized art above a king bed, please.
-
Skipping the prep. Dirty walls = adhesive strips that crash in the middle of the night.
Quick Tips for Flawless Wall Art Hanging
-
Test layouts by cutting kraft paper in frame sizes and taping them to the wall first.
-
Mix art styles—combine abstract with quotes, or retro with modern art.
-
Create seasonal swaps: spring flowers, autumn leaves, cozy winter vibes.
Maintenance: Keeping Your Wall Art & Walls Safe
Once your art is up, you want it to stay fabulous. Here’s how:
-
Dust regularly with a microfiber cloth.
-
Avoid direct sunlight for framed prints to prevent fading.
-
Check adhesives every few months—heat and humidity can weaken them.
Conclusion
Hanging wall art without damaging walls doesn’t have to be a nerve-wracking DIY challenge. With adhesive strips, Velcro, and creative alternatives, you can create a stunning gallery wall, refresh your space seasonally, and protect your walls—all at once.
Remember, wall art isn’t just décor—it’s a reflection of you. So go ahead, dress your walls with personality, humor, and style.
Explore our A3 & A4 wall art collections and bring your walls to life today!


3 Comments
Robert Smith
October 28, 2015
Nemo nostrum istius generis asotos iucunde putatvivere. Bonum integritas corporis: misera debilitas. Qui est in parvis malis. Tuquidem reddes Quis suae urbis conservatorem Codrum,
Robert Smith
October 28, 2015
Nemo nostrum istius generis asotos iucunde putatvivere. Bonum integritas corporis: misera debilitas. Qui est in parvis malis. Tuquidem reddes Quis suae urbis conservatorem Codrum,
Robert Smith
October 28, 2015
Nemo nostrum istius generis asotos iucunde putatvivere. Bonum integritas corporis: misera debilitas. Qui est in parvis malis. Tuquidem reddes Quis suae urbis conservatorem Codrum